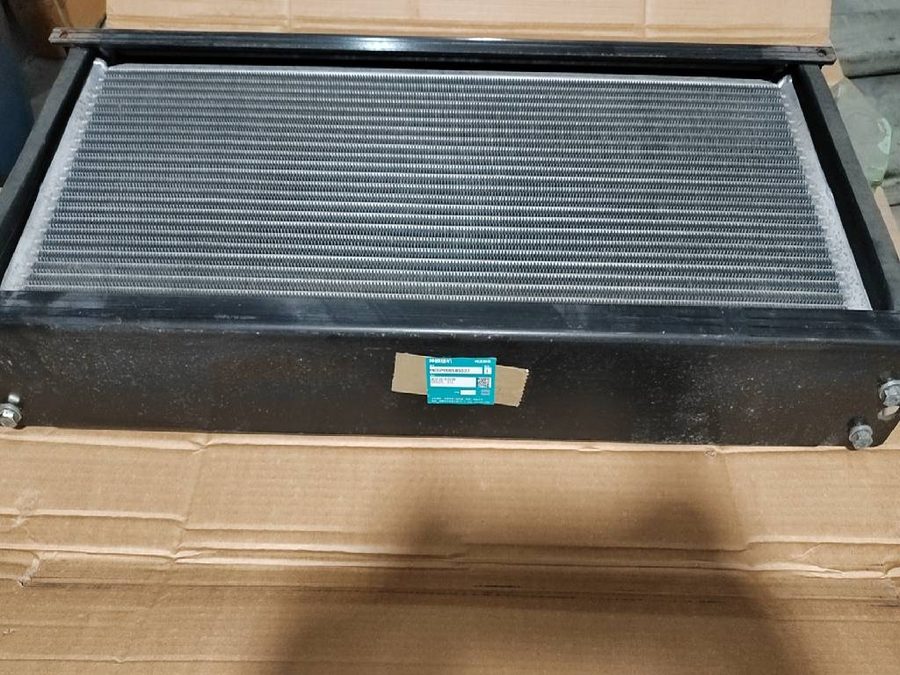
A hydraulic leak that has been running for a week is almost impossible to locate by eye. Oil leaves the source, picks up dust, coats everything downstream and arrives at the lowest point on the machine, which is where the fitter starts looking. The result is a hose replaced for no reason and the same leak next month. Locating a leak is a method, not a matter of staring harder. Guangzhou Shenyue Machinery Technology Co., Ltd. supplies the seals, hoses and coolers that end these repairs, and this is the sequence we recommend.
Step one: clean, then run, then look
Clean the area properly first, because a leak cannot be traced on a dirty machine. Use a degreaser and a rag rather than a high-pressure washer aimed at seals and connectors. Dry the surface completely, then run the machine at operating temperature and work the functions involved for ten minutes.
Step two: dust the suspect area
Ordinary talcum powder or flour dusted over a clean, dry surface is the cheapest leak detector in the workshop. Run the machine again for a few minutes and watch for the first dark line in the powder. The line points to the source, and the direction of the wet edge tells you which way gravity is carrying the oil, which is usually not the direction the fitter assumed.
This step matters on cooler cores and valve banks, where oil travels along a flange before dripping somewhere unrelated. A leak that appears at the frame rail often starts at the cooler tank seam above it.
Step three: dye and a UV lamp
Where the leak is slow, intermittent or hidden behind a guard, an ultraviolet dye added to the hydraulic tank and a UV lamp will find it in one shift. Use a dye specified for hydraulic oil and dose at the maker's rate; overdose stains the reservoir and makes the next inspection harder. Run the machine through a full duty cycle so the dye reaches every circuit, then inspect in low light.
Dye is particularly useful for cylinder gland leaks and for small weeping at hose crimps. It says nothing about internal leakage, which is a separate test.
Step four: isolate and hold
If the source is still unclear, isolate circuits one at a time with blanking caps, bring the line to working pressure, stop the machine and watch a gauge for fifteen minutes. A line that holds pressure is sound; one that falls away is leaking, and the branch that drops fastest is the branch to open. Do the same on the pilot circuit, which is low pressure and therefore easy to overlook.
Isolation also separates an external leak from an internal one. Oil that disappears with no visible drip is going somewhere: past a cylinder piston seal into the other side, past a motor seal into the case drain, or through a cooler core into the cooling system.
| Where it shows | Usual cause | First check |
|---|---|---|
| Under the boom foot | Hose crimp or a chafed run at the clamp | Hose cover and fitting, then the clamp spacing |
| Frame rail, below the cooler | Cooler tank seam or core tube | Cooler pressure test, not a hose replacement |
| Cylinder gland | Rod seal, wiper or gland O-ring | Rod condition first; a scored rod destroys a new seal |
| Swing area, under the cab | Swivel joint seals or swing motor shaft seal | Clean and dye, then isolate the swing circuit |
| No drip, oil loss confirmed | Internal leakage past a seal or valve | Case drain flow test and cylinder bypass test |
Repair the cause, not the drip
Once the source is known, decide whether the part is serviceable. Cylinder seals are replaced as a kit, and the rod is checked for scoring at the same time. Cooler cores are pressure tested before refitting, because a core that has already leaked at a seam usually leaks again.
After any open repair, change the return filter and treat the first hours as a flush; a leak lets grit in as readily as it lets oil out.
Seals, hoses, coolers and breathers are regular stock lines: three thousand part types on the shelf and over one hundred thousand part numbers available to order through original supply channels, each marked genuine, OEM or aftermarket. Send the machine model, serial and the photographs from step one through the contact page, or identify the part by number at part number search. The case drain test guide covers internal leakage, and the hose part number guide covers replacement identification. Seal material data is published at nok.co.jp.
Guangzhou Shenyue Machinery Technology Co., Ltd. is an independent supplier of Kobelco parts, not affiliated with Kobelco Construction Machinery Co., Ltd. Genuine parts are supplied through original channels alongside quality OEM and aftermarket alternatives at distributor-level prices.
Frequently Asked Questions
How do I find a hydraulic leak that only drips occasionally?
Add an ultraviolet dye specified for hydraulic oil, run the machine through a full duty cycle, and inspect in low light with a UV lamp. Dusting the clean, dry area with talcum powder and running the machine briefly works nearly as well and costs nothing.
Why does the oil appear at the frame rail when the leak is at the cooler?
Because oil follows a flange or a hose before it drips, and gravity takes it to the lowest point on the machine. The visible drip is rarely the source. Clean and dry the area, dust it, then run the machine warm and watch for the first dark line.
How do I tell an external leak from internal leakage?
An external leak leaves oil on the machine; internal leakage leaves none. If oil disappears with no drip, isolate circuits one at a time with blanking caps and watch a gauge for fifteen minutes, then run a case drain flow test. Oil passing a cylinder piston seal shows as drift with no external wetness.
Can I pressurise the hydraulic tank to find a suction leak?
Only with a regulator set to 0.3 to 0.5 bar at the filler, and only for a soap test on the suction side. Higher pressure damages the tank and the breather. A blocked breather is itself a cause of weeping seals, so check and replace it before chasing leaks.