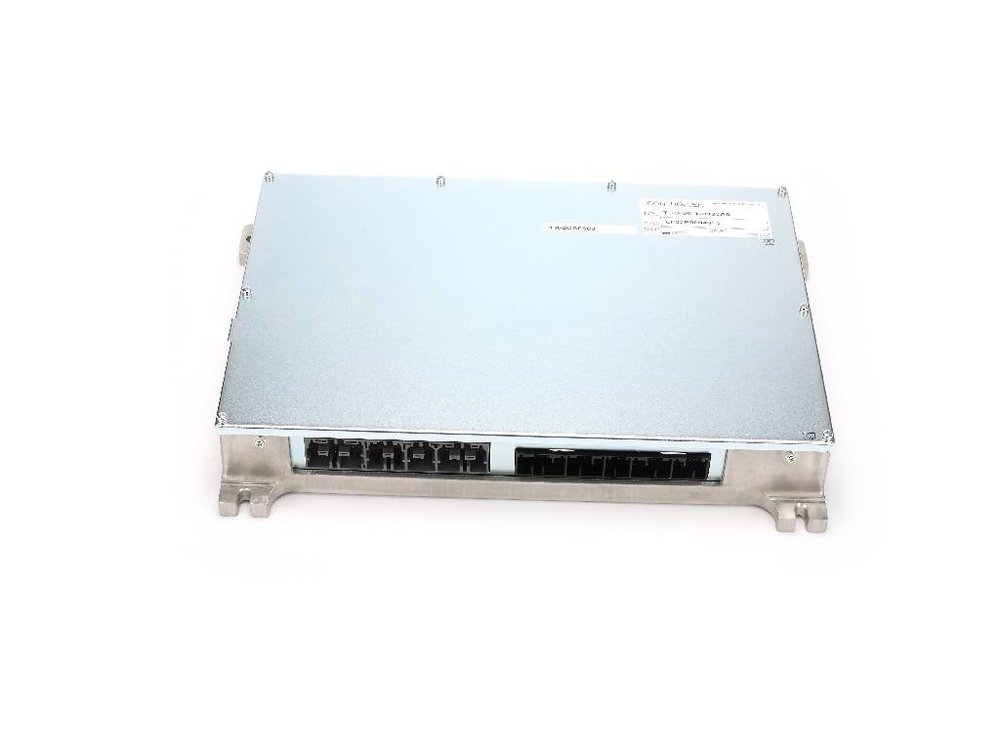
A repair yard that welds a bucket or a boom bracket with the batteries connected is running an experiment on the machine's electronics. Weld current does not respect the harness; it takes every path back to the work clamp, including through controller grounds, sensor returns and the alternator. Sometimes nothing happens. Sometimes the machine starts afterwards and runs badly for a month. Guangzhou Shenyue Machinery Technology Co., Ltd. sells the controllers that get destroyed this way, and the isolation routine costs nothing but discipline.
What the current actually does
Arc welding pushes tens to hundreds of amps through the workpiece. If the work clamp is on the frame, the return path is the frame — but any parallel path through a ground strap, a harness shield or a controller case will carry a share of it. Electronics tolerate a few milliamps of that current, not a fraction of an arc. The damage shows up as a burned ground trace, a failed output driver, a sensor reference that drifts, or an intermittent fault that appears only when the machine is hot.
Isolation before the arc starts
Four steps, in this order. Disconnect the battery negative terminals first, then the positive, and separate the cables so nothing can touch a post. Unplug the controller connectors you can reach — engine ECU, machine controller, monitor — and leave them hanging clear. Place the work clamp as close to the weld as physically possible, on clean bare metal, never on a pin, a bearing race, a cylinder rod or a hose fitting. Remove or shield any harness that runs through the weld area, and take the cylinder off if you are welding near a rod.
| Do | Why |
|---|---|
| Disconnect battery negative first | Removes the return path through the electrical system |
| Unplug controller connectors | Isolates the electronics even if a ground path remains |
| Clamp within a hand's width of the weld | Keeps current local instead of routing it through the frame |
| Remove or shield the harness | Stops radiant heat and spatter damage on top of current risk |
| Never clamp on a pin or bearing | Arc damage pits the surface and destroys the fit |
The mistakes that cost a controller
Three habits account for most of the failures we see. Welding with the batteries connected because "it is only a small bracket". Clamping the work lead on the opposite end of the machine, so the return current crosses the whole frame and every ground strap on the way. And welding a boom or arm without removing the cylinder, so heat travels into the rod, the seals and the chrome.
A fourth one is subtler: welding with the controller connected but the battery isolated. The battery is a big capacitor and a big sink; with it disconnected, the electronics are still in the circuit and now have no sink at all. Unplugging the connectors is what actually protects them.
Isolate, weld, then verify. Guangzhou Shenyue Machinery Technology Co., Ltd. keeps controller numbers such as LC22E00336F8 / LC22E00323F8, YN22E00193F5 and YN22E00694F8 in its records because they are the parts most often needed after a careless weld. Reconnect the negative terminal last, start the machine, and check the monitor for stored codes before the machine leaves the yard.
If the damage is already done
Diagnose before replacing. A controller that will not communicate may have a dead ground or a blown fuse rather than a dead board. Check battery voltage at the controller connector, check the ground strap resistance from the controller case to the frame, and check the fuse and fusible link that feed it. Voltage drop testing under load finds the corroded connection that a static voltmeter misses.
If the controller has to be replaced, the number must come from the machine serial and the original part, because the same machine family carries several controller variants across generations. Our records quote YN22E00193F5 as an ECU controller and YN22E00694F8 as a CPU controller; they are not interchangeable, and neither is a substitute for the other by price alone. The harness, connector and fuse guide covers the checks around the controller, and the battery and charging guide covers the supply side.
After the weld
Reconnect the positive terminal, then the negative. Start the machine and let it idle while you watch the monitor for codes and the voltmeter for charging. Operate every function once, including the ones that were nowhere near the weld, because a damaged output driver often shows up as one dead function rather than a no-start. Photograph the repaired area and file it with the machine record: the next owner will want to know.
Electrical parts are grouped on the electrical parts page. If a controller has to be ordered, send the machine serial, the original number and a photograph of the label and we will confirm the variant before quoting. Kobelco's published machine documentation at kobelco.co.jp is the reference for model-specific wiring changes.
Frequently Asked Questions
Do I need to disconnect the battery before welding on an excavator?
Yes, and disconnecting is only half of it. Remove the negative terminal first, then the positive, separate the cables, and unplug the controller connectors. With the battery isolated but the electronics still plugged in, a stray return path can still find the controllers and damage them.
Where should the welding ground clamp go on a Kobelco?
As close to the weld as possible, on clean bare metal, so the return current stays local. Never clamp on a pin, a bearing race, a cylinder rod or a hose fitting, and never clamp at the far end of the machine, which routes current through the whole frame and every ground strap.
How do I know if welding damaged the ECU?
Look for a dead function rather than a total failure: one circuit that no longer works, a sensor reading that drifts when hot, or intermittent codes. Check controller supply voltage, ground strap resistance and fuses before condemning the controller. Replacing a controller because of a corroded ground wastes the part.
Can I fit a used controller with the same number?
Only if the number matches the machine serial and generation exactly. YN22E00193F5 is an ECU controller and YN22E00694F8 a CPU controller in our records, and neither substitutes for the other. Guangzhou Shenyue Machinery Technology Co., Ltd. confirms the variant from the serial before quoting.